This workshop is designed to introduce developers to Ready Player Me Studio and Ready Player Me Unity SDK.
What you will learn
- What is Ready Player Me
- Using Ready Player Me Avatar in Web Editor
- Using Ready Player Me Studio Account
- Importing Ready Player Me Unity SDK
- Loading Avatars in Editor and Runtime
- Integrating Avatars in your existing Unity project
- Avatar Optimization
Technical requirements
- Beginner-level knowledge of Unity and C# is required.
- Unity 2022 (Preferably 2022.3.7f1) Download Here
- Git Version Control Download Here. If you are unsure about having Git installed on your machine, you can check it by opening the terminal and typing
git -v
Let’s Start!
What is Ready Player Me
Ready Player Me is a cross-game avatar platform for Unity, Unreal Engine, and all web-based stacks.
With Ready Player Me, you can create avatars, connect them to our partner apps and manage them. Integrate it in your Unity, Unreal, Web, or mobile native app to provide interoperable avatars to your users. Create and manage 3D outfits and accessories for your users.
Visiting Ready Player Me Website
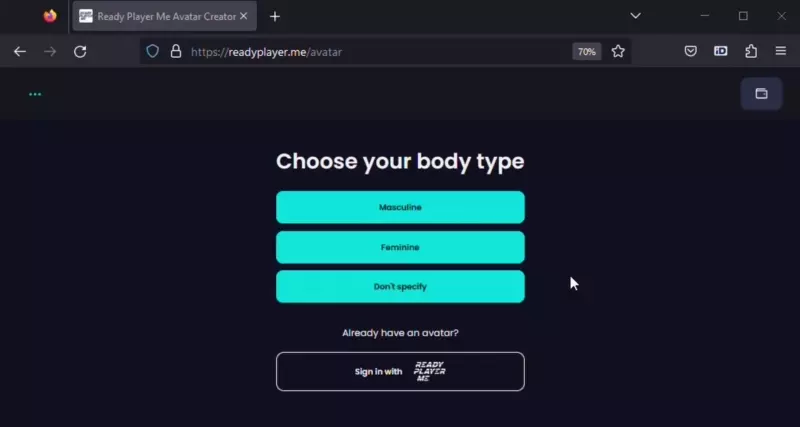
- Go to Ready Player Me Avatar Editor.
- Select
Avatar Body Type. - Create an avatar via a selfie or using a preset.
- Customize your avatar in the avatar editor.
- Once you are happy with your avatar, click on the
Enter Hubbutton in the top right corner of the website. -
Click on the download icon in the bottom right corner and copy the url from the avatar URL modal window.
Sample Project
In this workshop we will use Unity’s Adventure Game Sample project to implement Ready Player Avatars in it. It is a fully playable 3D adventure game, in which everything is setup for you. So you can focus on implementing Ready Player Me Unity SDK in it.

Let’s start!
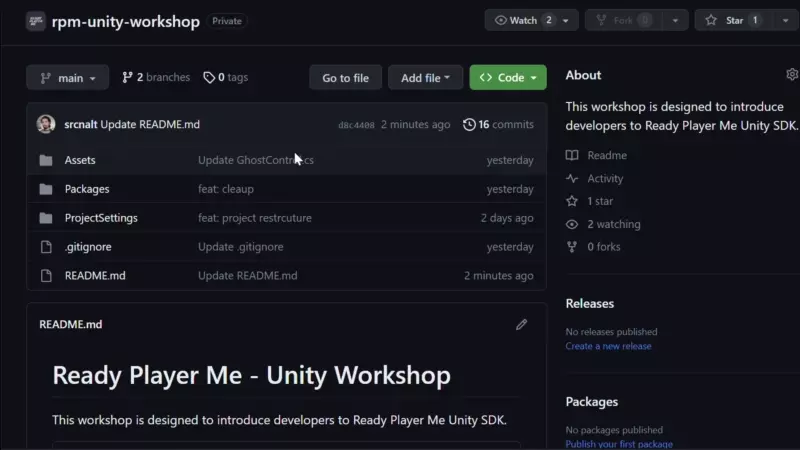
- You can access the project from Ready Player Me GitHub repository here.
-
Download the project zip file from github, extract it into a folder you want.
- Open Unity Hub and click on
Add Project from Diskbutton. -
Select the folder you extracted the project in and click on
Select Folderbutton.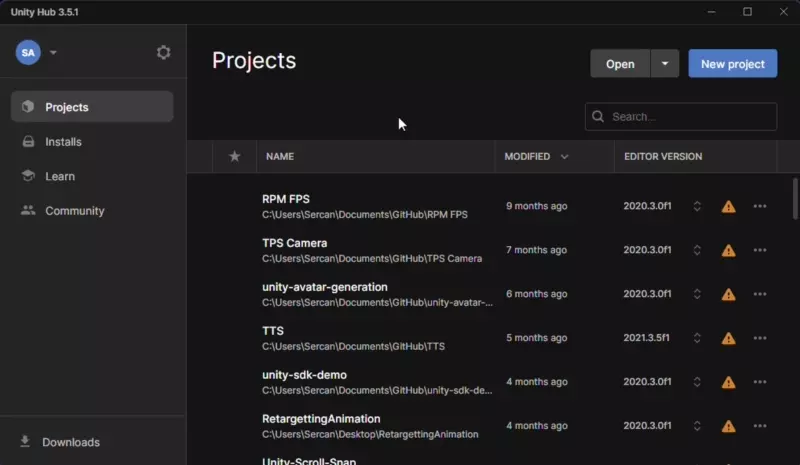
- Wait for Unity to import the project and open it.
Project Structure
When the project starts you will see 3 folders under Assets folder in the Project Window.
- Settings folder, contains the settings about the Rendering Pipeline, Quality Settings, etc.
- Unity Technologies folder, contains the game assets and scripts of Adventure Game Sample.
-
Workshop folder, contains the menu setup and scripts for the workshop. We will mainly work in this folder.
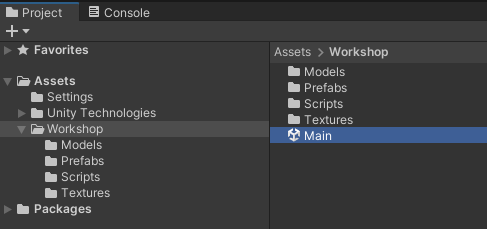
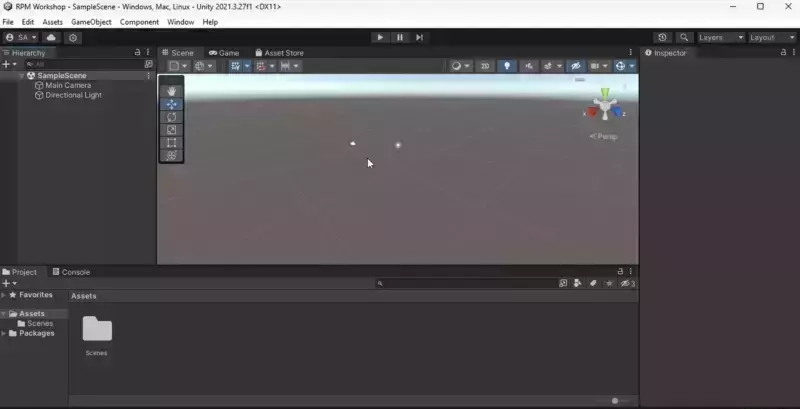
Let’s open up the Assets > Workshop > Main scene and run the project to see what we have so far.
- Press
Runbutton and start the scene. - You should see the main menu of the game.
-
Press the
Start the Gamebutton to start the game.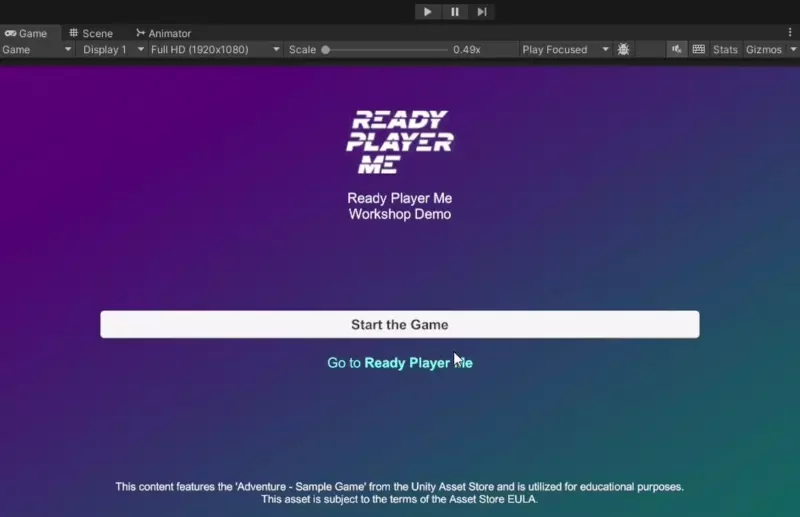
You will notice game is playable but the character is a textureless default character and made to look like this intentionally. Let’s change that by adding Ready Player Me avatars to the game!
We will start by creating a Ready Player Me Studio account. Ready Player Me Studio is where you can customize your applications, manage your custom assets and create API keys for your applications.
Creating a Ready Player Me Studio Account
- Visit Ready Player Me Studio and click on the
Sign up herebutton. - Fill in your email address, company name and user name and click on the
Nextbutton. -
If you do not have a company, or not representing a company, you can click on
I don't have a companycheckbox.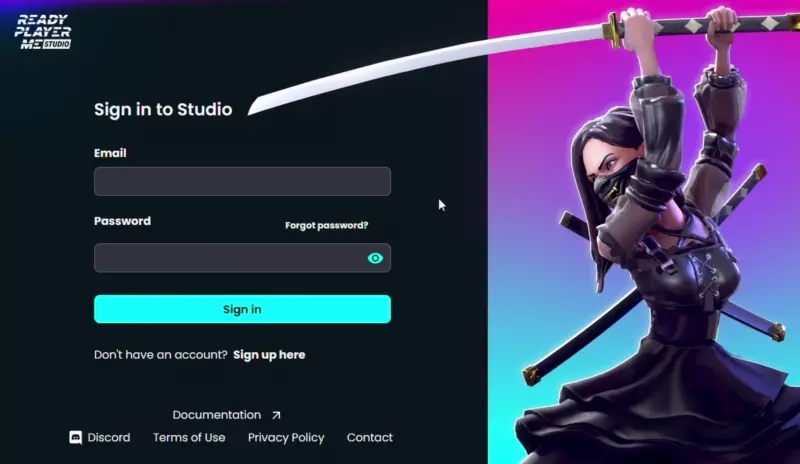
Fill in the Application Info
- In the next step, you will be asked to provide more info about your application.
-
Set the
Application Nameto your app’s name. And if it already has a store page or website, you can set theLink to applicationfield.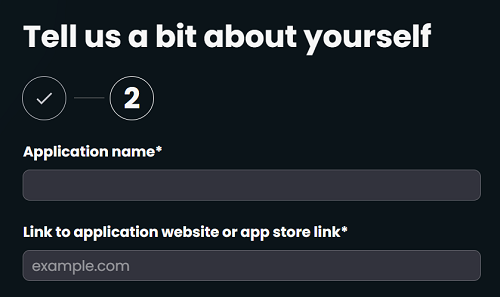
-
In the following section, set the number of monthly active users of your application.
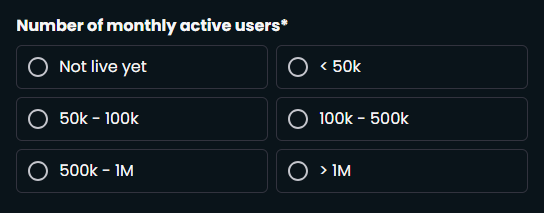
-
After that, you can select the environment you are developing your application on. For this workshop, we will select
Unity.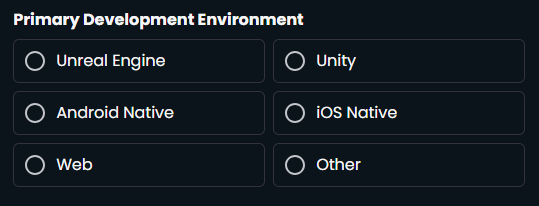
- Enter your notes about how you are planning to integrate Ready Player Me.
-
And finally, accept the terms and conditions and privacy policy, then click on the
Finishbutton.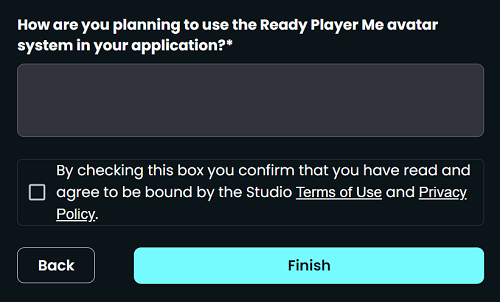
- You will receive a confirmation email to your email address. You can later finish setting up your password and finish creating your account.
Copy Your Application Subdomain
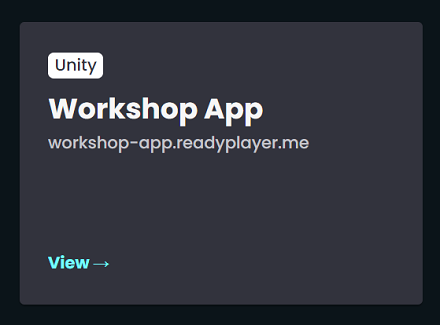
- After the account creation is completed, you will be redirected to the dashboard of your application.
-
In the dashboard you will see your first application already created with the info you provided.
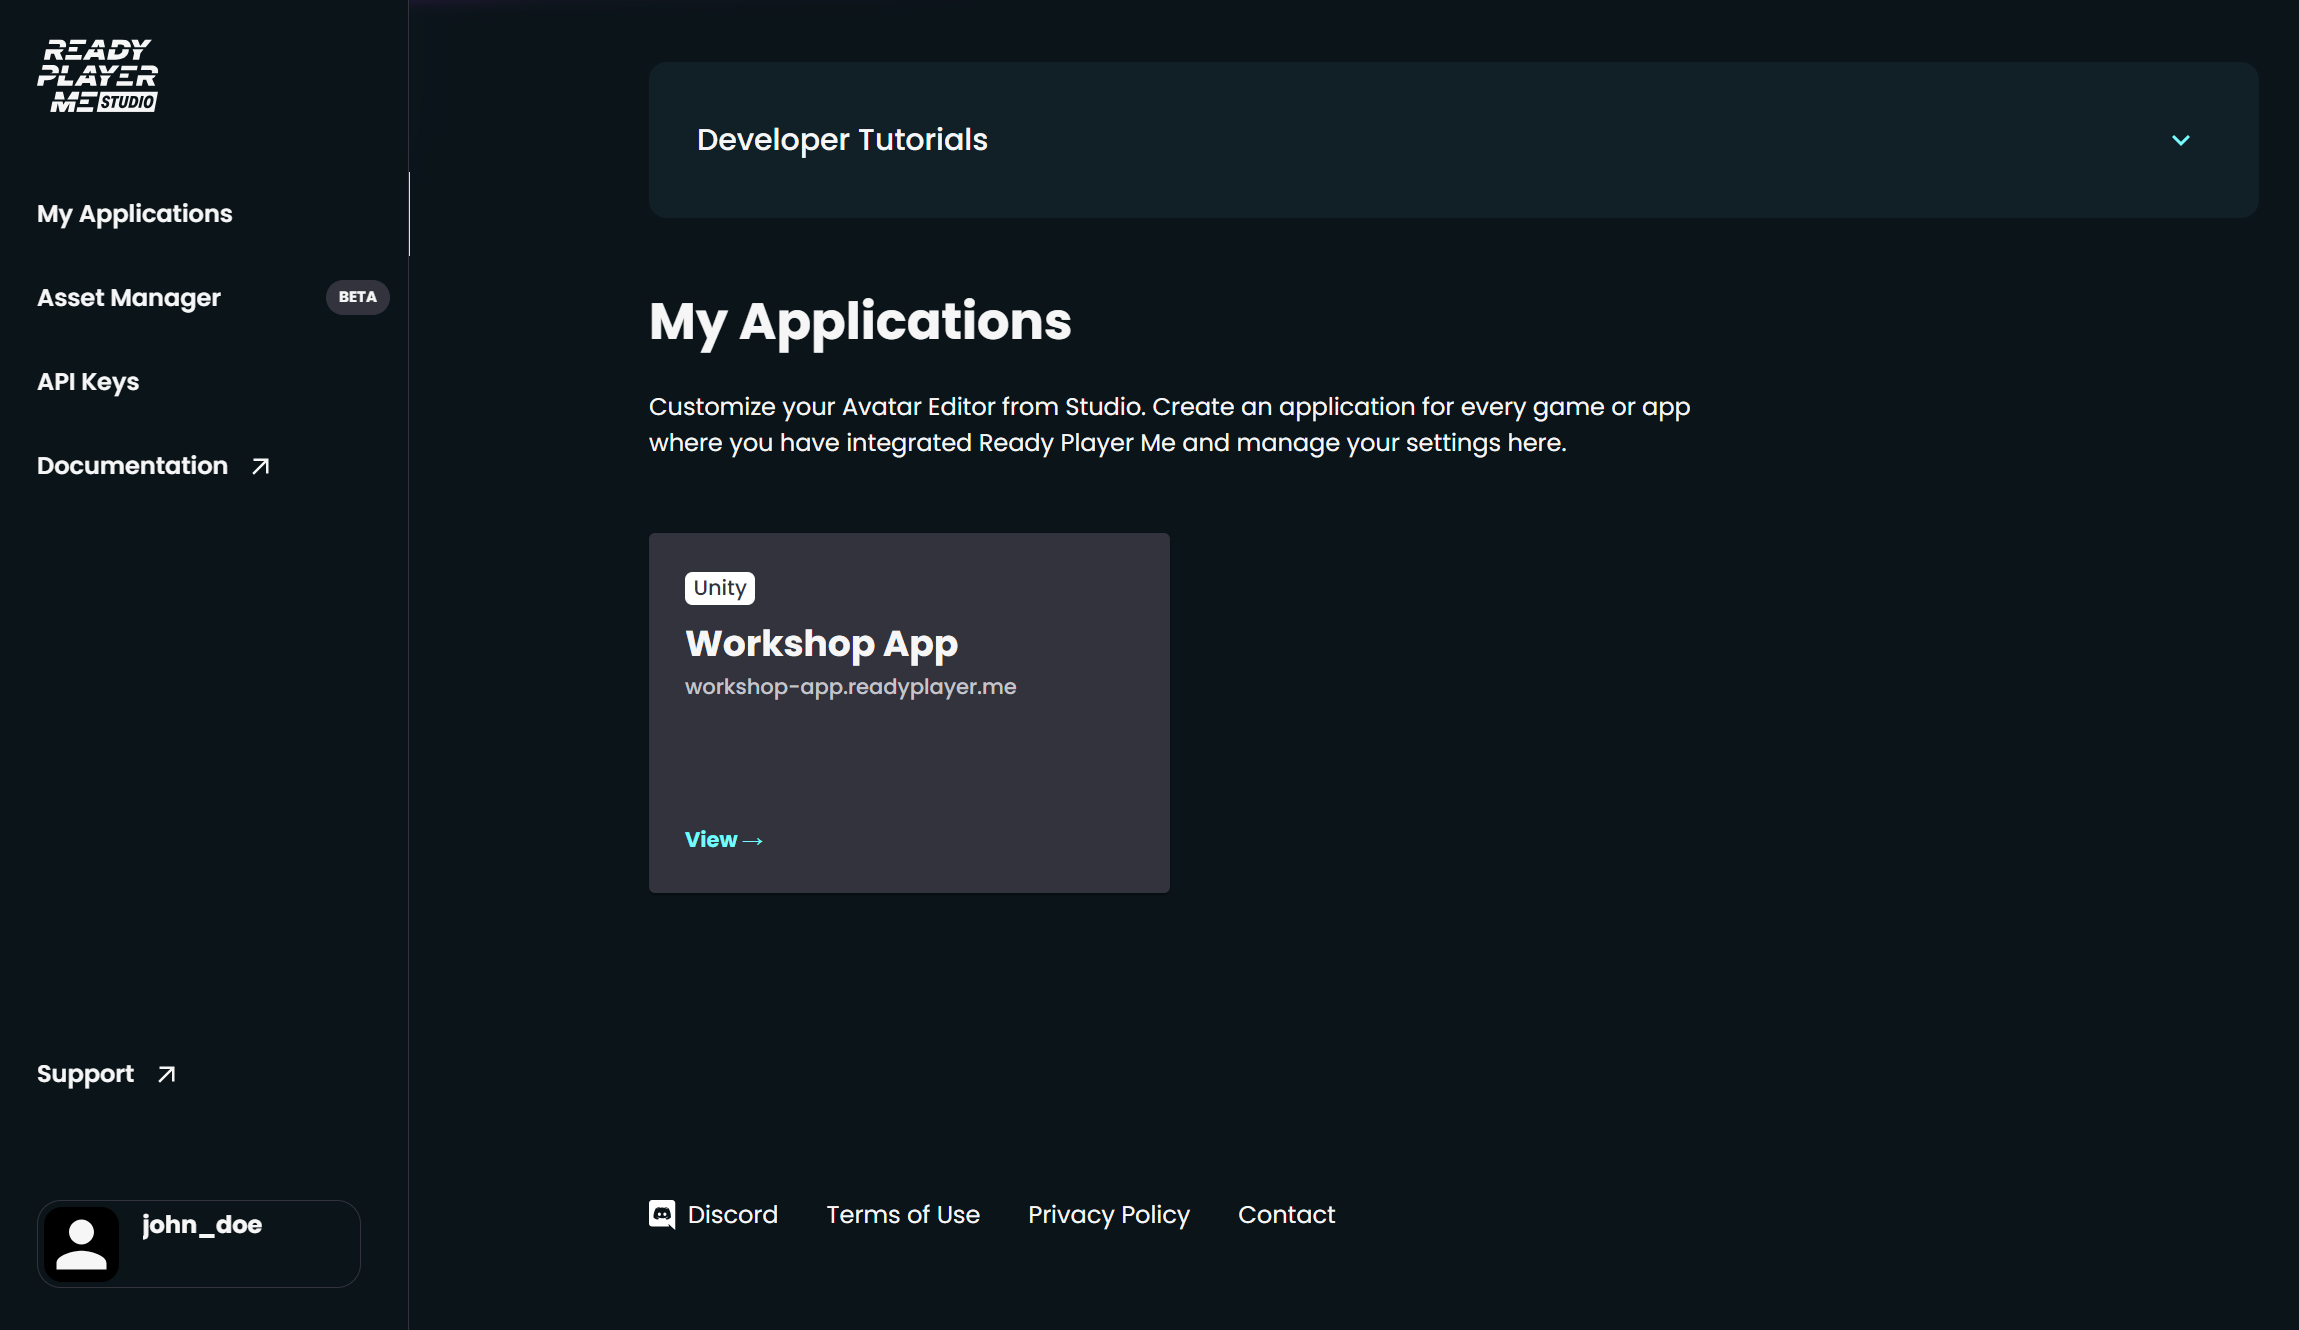
- Ready Player Me Studio is going to create a partner subdomain for your first app automatically. You can see this on the dashboard of your account.
-
Keep this subdomain in mind or take a note of it, we will use it later in this workshop.
- The subdomain you will be assigned will be a unique string that is assiciated only with your application.
⚠️ Make sure to use your own subdomain and NOT the example subdomain used by the instructor.
Import Ready Player Me Unity SDK
To import Ready Player Me Unity SDK, we will use the Unity Package Manager, which is a built-in package manager for Unity. And we will use the Git URL of the Ready Player Me Unity SDK package to import it.
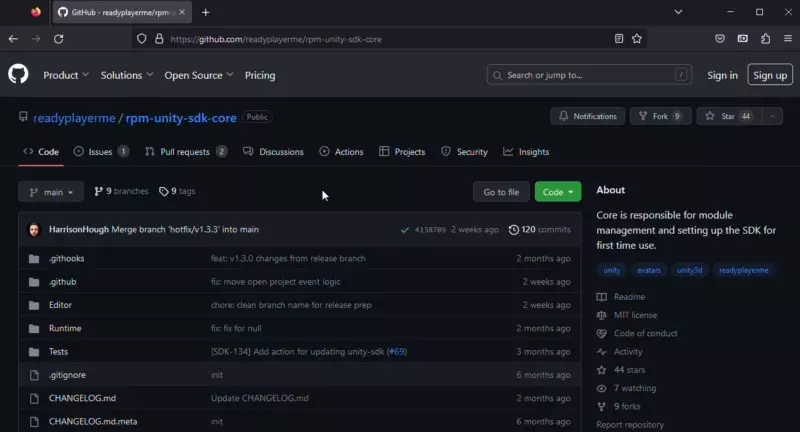
- Visit Ready Player Me Unity SDK repository on GitHub here.
- Click on the
Codebutton, then copy the Git URL of the repository.
⚠️ Make sure to copy the Git URL of the repository and NOT the URL of the current page!
- Go to Unity and from the top menu click on
Window>Package Manager. Then you should see the Package Manager window. - Click on the
+button on the top left corner of the Package Manager window and selectAdd package from git URL...from the dropdown menu. - Paste the Git URL of the Ready Player Me Unity SDK repository in the input field and click on
Addbutton. - The package URL is
https://github.com/readyplayerme/rpm-unity-sdk-core.git - Ready Player Me SDK will start importing multiple packages which might take around 30 seconds. Wait for the import to finish.
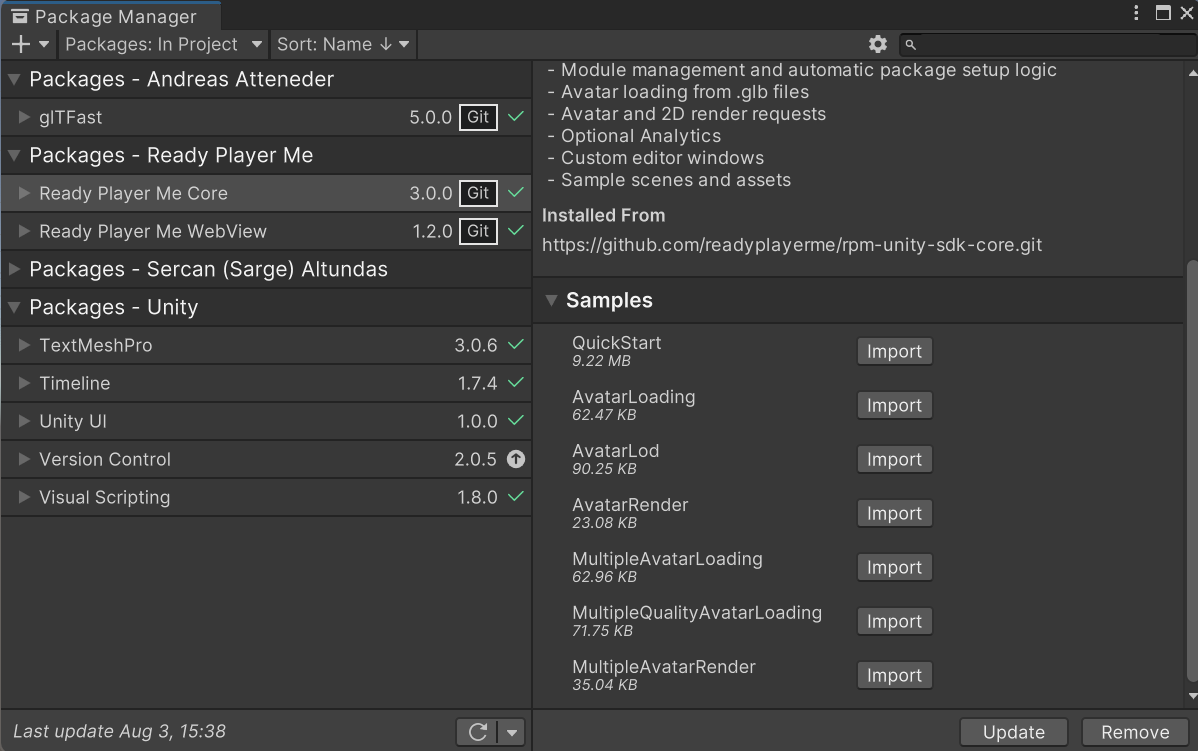
- Once the import is finished you should see the imported packages in the Package Manager window and the Setup Guide Window.
-
The version of the packages you see in your editor might be different from the version in the screenshot below, but that’s fine.
Now you can close the Package Manager window and continue with the next step where we will Setup the SDK.
When you import the Ready Player Me SDK for the first time, you will see the Setup Guide window. This window will help you to setup the SDK and get started with it. It consists of multiple steps which we will cover in this section of the workshop.
Setting up the Subdomain
First step in setting up the SDK is setting your partner subdomain. We already created a Studio account and created an application, so we can use that subdomain now in Unity.
- Copy the subdomain you created in the previous step.
- Paste the subdomain in the input field in the Setup Guide window.
- Once you have demo in the input field, click on
Nextbutton. -
Click on the
Finish Setupbutton to finish the Setup Guide.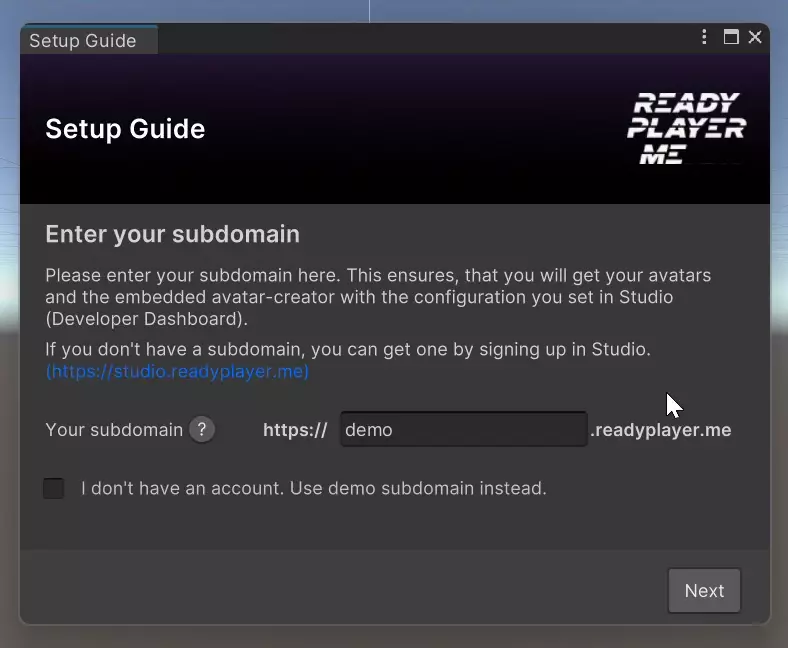
Integration Guide
- Once the setup is completed, you will see the
Integration Guidewindow. - If you want to learn various steps of the SDK usage, you can check the sections on this window.
-
For this workshop, we will skip this window and close it. But you can always visit it from
Ready Player Me>Integration Guidein the top menu of Unity Editor.
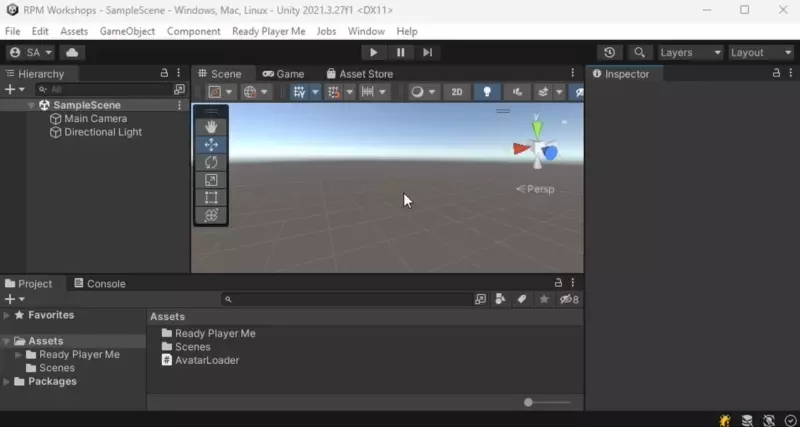
Let’s use the Avatar Loader Window to import our first avatar in the editor. At the moment you are in the game menu scene. We can import an avatar in the editor and test it out in this scene.
Visiting Ready Player Me Website
In the first step of the workshop we visited Ready Player Me website and created an avatar. We will use the same website to create an avatar for this step. If you already have an avatar you can use that one as well.
- Go to Ready Player Me website.
- Select
Avatar Body Type - Create an avatar via a selfie or using a preset.
- Customize your avatar in the avatar editor.
- Once you are happy with your avatar, click on the
Enter Hubbutton in the top right corner of the website. -
Click on the download icon in the bottom right corner and copy the url from the avatar URL modal window.
Import Your Avatar
- Go back to Unity Editor and open the Avatar Loader Window from
Ready Player Me>Avatar Loaderin the top menu of Unity Editor. - Paste the avatar URL in the
Avatar URL or Shortcodefield. - Click on the
Load Avatar into the Current Scenebutton. -
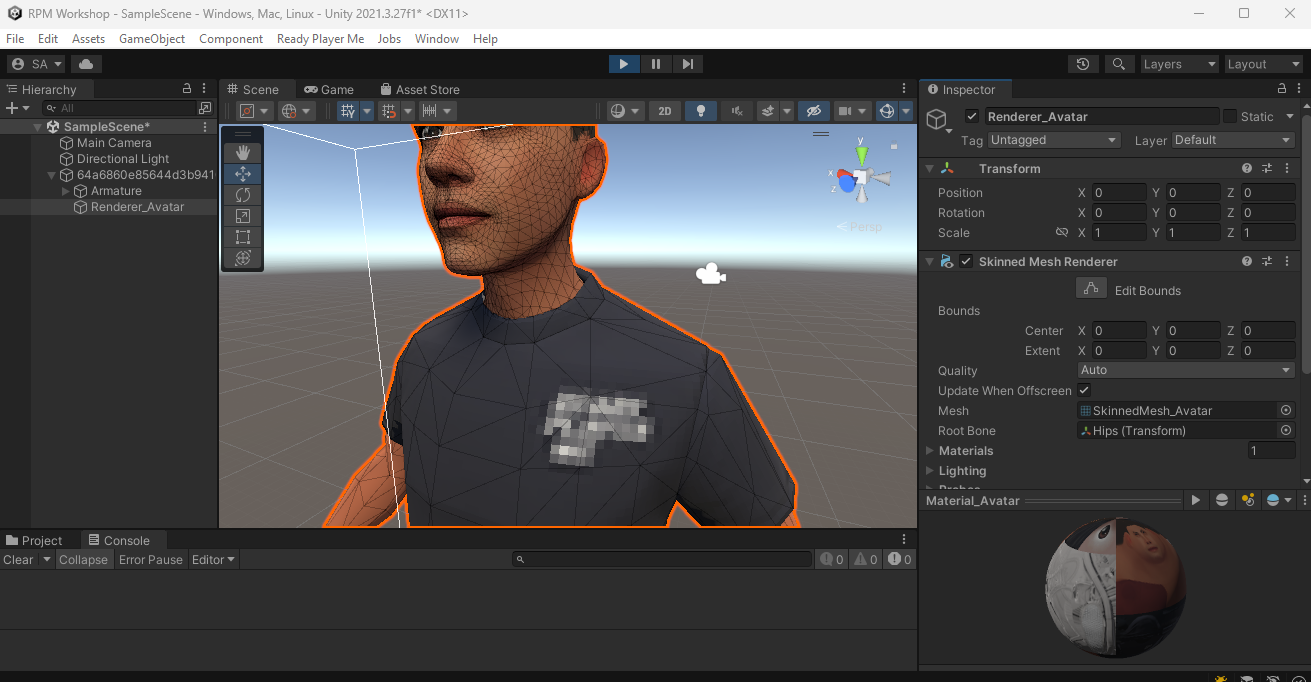
After a second of waiting, you should see your avatar loaded in the editor.
In the game sample, each game scene contains a Player RPM prefab, which hosts the scripts that are responsible for character movement and save state of the objects that character interacts with.
Our goal is to load and replace the default avatar in this prefab with the imported avatar, which out
Player Prefab Structure
The player prefab contains the following child objects.
- Default Character, is the default textureless character we intent to replace.
-
Props, is a game object that contains items that player can put on. Managed by game logic and we will ignore it.
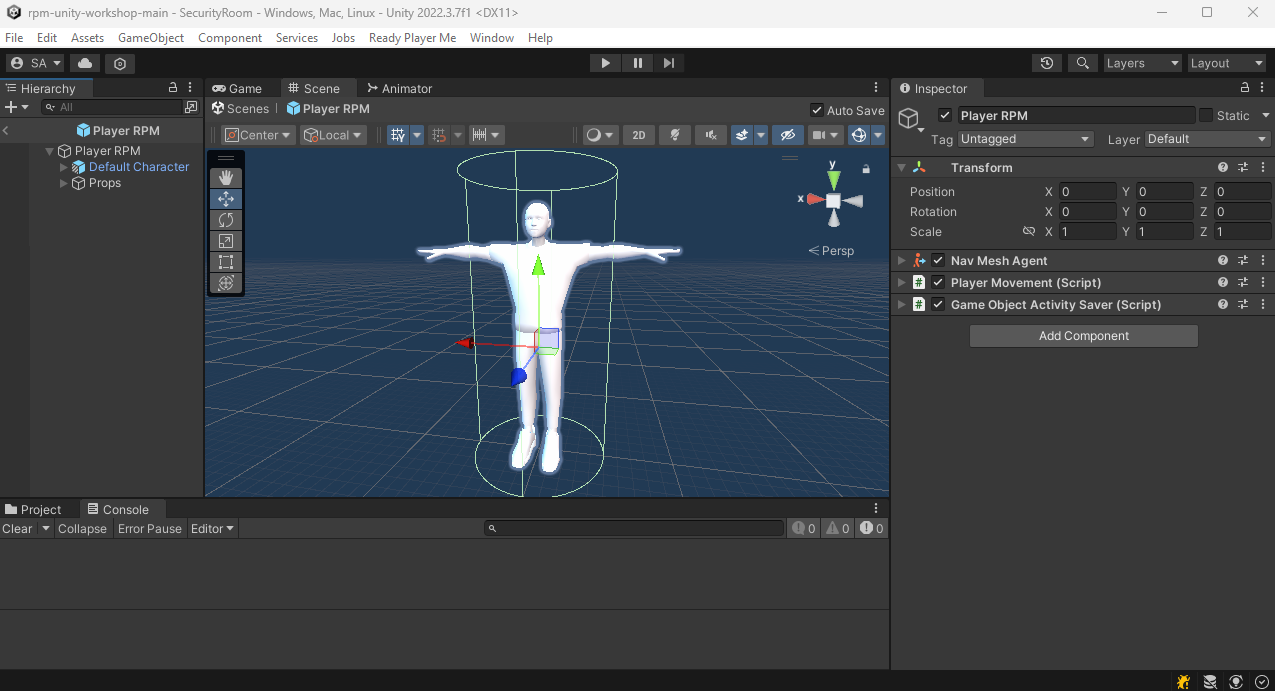
In the next step, we will crate a script to attach onto this prefab to disable the default character and replace it with the imported avatar.
Finally, let’s create a script to load the avatar in runtime and attach it to the player prefab.
Create an AvatarLoader Script
- Go to
Assets > Workshop > Scriptsfolder. - Right click in the folder then select
Create > C# Scriptand create a C# script. - Name your script
AvatarLoaderand open it. - Remove the
Updatemethods from the script. - Create a
GameObjecttype field for the default character that we will disable.
At this stage the script should look as the following.
  using UnityEngine;

  public class AvatarLoader : MonoBehaviour
  {
    [SerializeField] private GameObject defaultCharacter;

    private void Start()
    {
        // ready to load an avatar
    }
  }
Setting up the Start Method
We want the avatar to be loaded when the game starts. So let’s set up the Start method to load the avatar.
- Create a string variable called
urland paste the your avatar’s URL in it. If you lost your avatars URL head back to Ready Player Me and copy the URL like we did in the previous step. - Create and instance of
AvatarObjectLoaderthat is provided by Ready Player Me SDK. The class is imported in the script withusing ReadyPlayerMe.Core;statement. - Call the
LoadAvatarmethod of theAvatarObjectLoaderinstance with theurlvariable as the parameter. - Finally we will use the
OnCompletedevent of theAvatarObjectLoaderinstance to get notified when the avatar is loaded. Add a callback method calledOnAvatarLoadedto theOnCompletedevent listener. This is where we will apply our changes once the avatar loading is completed.
using UnityEngine;
using ReadyPlayerMe.Core;

public class AvatarLoader : MonoBehaviour
{
  [SerializeField] private GameObject defaultCharacter;

  private void Start()
  {
    string url = "https://models.readyplayer.me/64a6860e85644d3b94105a75.glb";

    AvatarObjectLoader loader = new AvatarObjectLoader();
    loader.LoadAvatar(url);
    loader.OnCompleted += OnAvatarLoaded;
  }

  private void OnAvatarLoaded(object sender, CompletionEventArgs e)
  {
    // avatar is loaded
  }
}
Setting up the OnCompleted Event Callback Method
Once the avatar is loaded, OnAvatarLoaded method will be called. Let’s set up this method.
- First we will disable the default character by calling the
SetActivemethod of thedefaultCharactergame object and passingfalseas the parameter. - We will receive the imported avatar’s
GameObjectfrom theCompletionEventArgsobject that is passed to theOnAvatarLoadedmethod. - Let’s set the current game object as its parent and set its local position and rotation to zero. We will do this using the
SetParentmethod of theGameObjectclass and passingfalseas the second parameter to keep the world position and rotation of the avatar.
The final code should look like this:
using UnityEngine;
using ReadyPlayerMe.Core;

public class AvatarLoader : MonoBehaviour
{
  [SerializeField] private GameObject defaultCharacter;

  private void Start()
  {
    string url = "https://models.readyplayer.me/64a6860e85644d3b94105a75.glb";

    AvatarObjectLoader loader = new AvatarObjectLoader();
    loader.LoadAvatar(url);
    loader.OnCompleted += OnAvatarLoaded;
  }

  private void OnAvatarLoaded(object sender, CompletionEventArgs args)
  {
    // Disable default character
    defaultCharacter.SetActive(false);

    // Set avatar as child of this game object
    args.Avatar.transform.SetParent(transform, false);
  }
}
And we are mostly done! In the next step let’s attach the script to the Player RPM prefab and test it out.
It’s time to attach AvatarLoader script to the Player RPM prefab and test it out.
Attaching the Script to Player Prefab
- Select the
Player RPMprefab in theAssets > Workshop > Prefabsfolder. - Go back to
Scriptsfolder then drag and drop theAvatarLoaderscript on thePlayer RPMprefab. - Alternatively can click on the
Add Componentbutton in the inspector window and search forAvatar Loaderand add it to the prefab. -
Drag and drop the
Default Charactergame object from thePlayer RPMprefab to theDefault Characterfield of theAvatarLoaderscript.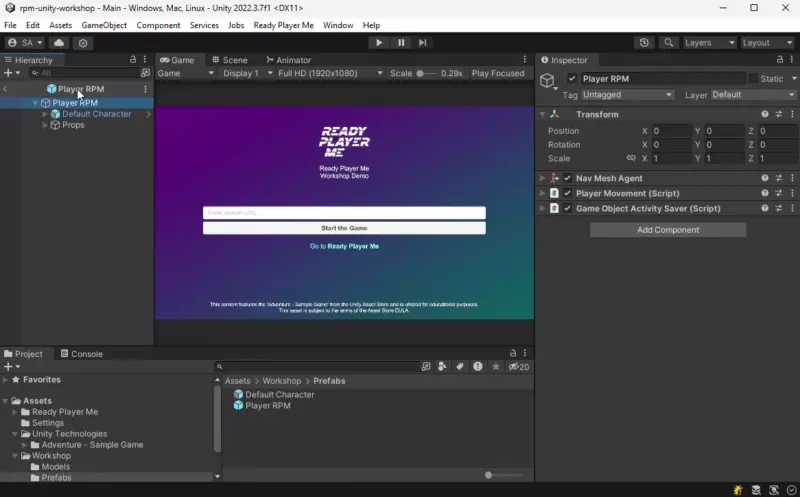
- Now let’s go to the Menu scene and run the game to see our avatar in action.
-
Go to
Assets > Workshop > Mainscene and press theRunbutton. - Congratulations! You have successfully imported your personal avatar in the game.
Setting Avatar URL in the Menu
In the previous step we hard coded our avatars URL in the AvatarLoader script. But in a real world scenario, we would want to set the avatar URL in the menu. Let’s see how we can do that.
- In the
Menuscene’s hierarchy, you will see a disabled game object calledURL Fieldunder theCanvasgame object. -
Enable the
URL Fieldgame object.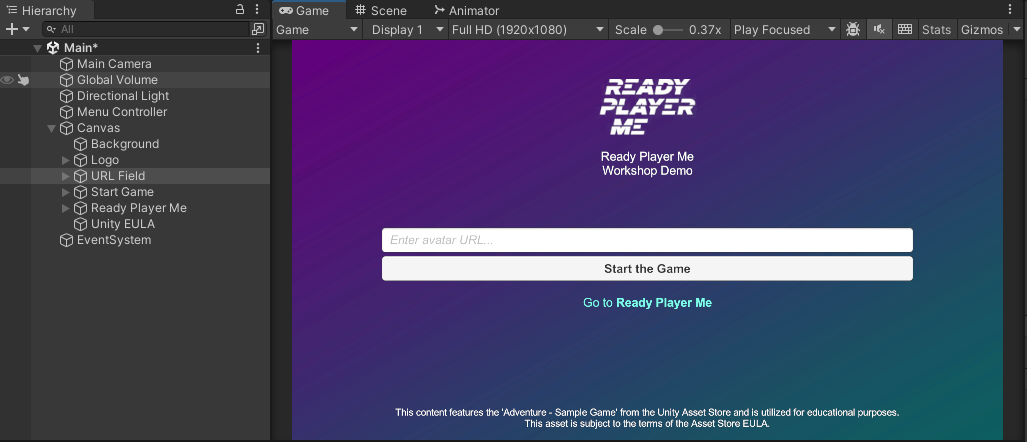
- The
Menu Controllerscript attached to the game object with the same name already handles saving the avatar URL in the player prefs. -
You can open the
Menu Controllerscript and see how it works.PlayerPrefs.SetString("AvatarUrl", inputField.text); - Now let’s go back to the
AvatarLoaderscript and change theurlvariable to get the avatar URL from the player prefs. -
The line where we set the
urlvariable should look like this:string url = PlayerPrefs.GetString("AvatarUrl"); - Now let’s go back to the
Menuscene and run the game to see our avatar in action. You can go to Ready Player Me website and create a new avatar and copy its URL to the input field in the menu. Then press theStart the Gamebutton to start the game with your new avatar.
Congratulations!
You have successfully completed the Ready Player Me Unity SDK Workshop.

In this workshop we learned how to import Ready Player Me Unity SDK, setting up the SDK, loading avatars in the editor and runtime, and using the SDK in a existing game scenario.
You can find the completed version of the sample project with Ready Player Me SDK here in the final branch of the GitHub repository.
If we have some time left, we can go through some optional steps to learn more about Ready Player Me Unity SDK.
If you have any questions or feedback, you can join our Discord server and ask your questions in the #dev-unity channel.
If you want to access optimization, caching, logging and other settings of Ready Player Me in editor you can open Settings Window from Ready Player Me > Settings in the top menu. Let’s see what settings are available in this window.
Once you open the window if you require more info about certain fields, you can click on the ? button next to the field to open the documentation website.
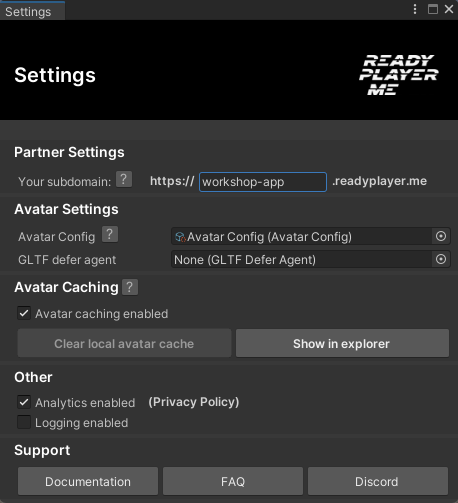
Partner Settings
- Under partner settings you can see the partner subdomain you set in the setup guide. You can change it here if you want to load avatars from a different partner subdomain.
- If you do not have a partner subdomain and started with demo, you can visit Ready Player Me Studio and apply to become a partner.
Avatar Settings
- Avatar Config: Avatar Config is a scriptable object which is used to configure the avatar and optimize it for your project. If this field is empty the settings that are set in Ready Player Me Studio will be used as default. We will cover the
Avatar Configin more details in the next step. - GLTF Defer Agent: A defer agent object is used for deciding how you would want to load an avatar. By default the avatars are going to be loaded uninterrupted and fast with
UninterruptedDeferAgentwhich might cause performance hickups. If you are working on WebGL or VR, you can useTimeBudgetPerFrameDeferAgent.
Avatar Caching
- Avatar Caching: If enabled avatars will be saved in users device and will not be downloaded again unless the avatar is updated. This will improve the loading time of the avatars and will reduce the bandwidth usage.
- Clear Local Avatar Cache: Clicking on this button will clear the avatar cache in the users device.
- Show in Explorer: Clicking on this button will open the avatar cache folder in the users device.
Other
- Analytics Enabled: If enabled, Ready Player Me SDK will send editor-only SDK usage info.
- Logging Enabled: If enabled, Ready Player Me SDK will show debug logs in the console window.
Support
- Documentation: Opens the documentation website.
- FAQ: Opens the FAQ page of the documentation website.
- Discord: Opens the Ready Player Me Discord server.
Ready Player Me SDK provides you multiple event listeners which you can use to get notified about the status of the avatar loading process. Let’s see how we can use them.
Adding Event Listeners
After creating an instance of AvatarObjectLoader you can add OnCompleted, OnFailed and OnProgressChanged event listeners to it.
-
OnCompleted: This event is triggered when the avatar is loaded successfully. It returns an
CompletionEventArgsobject which contains the avatar game object, avatar URL and avatar metadata.void Start() { ... loader.OnCompleted += HandleOnCompleted; } private void HandleOnCompleted(object sender, CompletionEventArgs e) { Debug.Log("Avatar loaded!"); } -
OnFailed: This event is triggered when the avatar loading process fails. It returns an
FailureEventArgsobject which contains the avatar URL, the error message and the error message type.void Start() { ... loader.OnFailed += HandleOnFailed; } private void HandleOnFailed(object sender, FailureEventArgs e) { Debug.Log("Avatar loading failed!"); } -
OnProgressChanged: This event is triggered when the avatar loading progress changes. It returns an
ProgressChangedEventArgsobject which contains the progress value [0, 1], avatar URL and the stage of the loading process.void Start() { ... loader.OnProgressChanged += HandleOnProgressChanged; } private void HandleOnProgressChanged(object sender, ProgressChangedEventArgs e) { Debug.Log("Avatar loading progress: " + e.Progress); }
One of the important features of Ready Player Me Unity SDK is the avatar optimization. Ready Player Me avatars are highly customizable and can be used in any project, but to make sure they are optimized for your project, you can use the Avatar Config scriptable object to configure the avatar.
Create a new Avatar Config
During the first time setup, we created an Avatar Config scriptable object. But if you want to create a new one, you can do it by following these steps.
- Right click in the folder where you want to create the file and select
Create>Ready Player Me>Avatar Configurationfrom the dropdown menu. - In the inspector window you will see all the available options for the Avatar Config.
-
Once you are done with the configuration, drag and drop the Avatar Config file in the
Avatar Configfield in the Settings Window.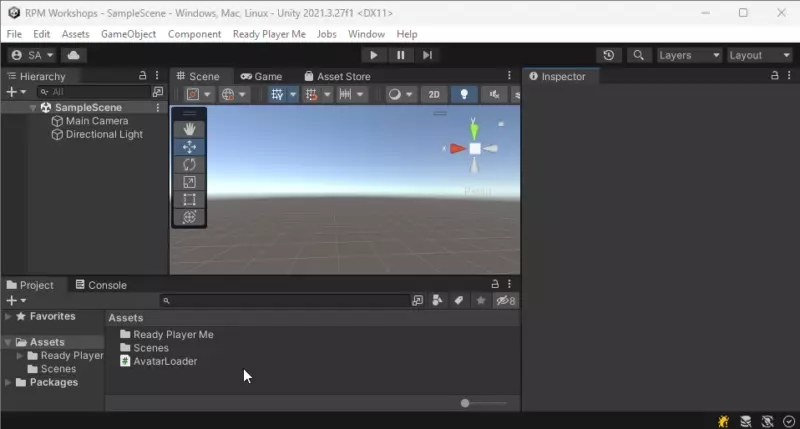
Avatar Config Options
When you view the Avatar Config in the inspector window, you will see multiple options to configure the avatar. Let’s go through them one by one.
![]()
- Mesh LOD: This option is used to control the level of detail of the avatar mesh. There are 3 options which are High, Medium and Low. Higher LOD number indicates lower level of detail.
- Pose: This option used for receiving the avatar in either
A poseorT posewhen it is created. This is useful when custom animations are applied to the avatar. - Texture Atlas: By default Ready Player Me avatars exported as multiple mesh, material and textures. If you want to reduce the draw calls, you can use this option to export the avatar as a single mesh, material and texture.
- Texture Size Limit: Determines the maximum size of individual textures in the texture atlas or separate avatar meshes.
- Texture Channels: Physical based rendering shaders use different texture channels for different purposes. When all channels are used avatar will look better in quality however size of the model file will be larger. If you want to reduce the size of the model file you can disable some of the channels. The available channels are
Base Color,Normal,Metallic Roughness,OcclusionandEmissive. - Use Hands: This is a Half-body only option, where you can enable or disable the hands of the avatar.
- Use Draco Compression: Enables Draco compression for the avatar mesh. This will reduce the size of the model file, more effective on non-atlassed avatars.
- Use Meshopt Compression: Enables Meshopt compression for the avatar mesh. This will reduce the size of the model file, more effective on avatars with morph targets (blend shapes).
- Morph Targets: Morph Targets (Blend Shapes) are used for facial expressions and other face animations. If you are not using morph targets in your project, you can disable this option to reduce the size of the model file. You can add individual morph targets to the
Morph Targetslist or you can addARKitandOculus Visemesgroups to add all the morph targets in those groups.
Using Avatar Config in Code
We learned how to use Avatar Config in the editor by setting it in the Settings Window. But what if we want to use it in code? There might be cases where you want to use different optimization settings at the different stages of your game or application. Let’s see how we can do that.
AvatarObjectLoaderclass exposes anAvatarConfigproperty which you can use to set the Avatar Config in code. This parameter overrides the Avatar Config set in the Settings Window and lets you load the avatar with different settings.- Let’s create a new Avatar Config in the
Assets/Ready Player Mefolder and name itLow Config. - Set the
Mesh LODtoLow (LOD2),Texture AtlastoLow (256), and removeOcclusion,EmmisiveandMetallic Roughnesschannels from theTexture Channelslist. -
Click on Add Button of Morph Targets and select
noneto make sure default morph targets are not included in the avatar.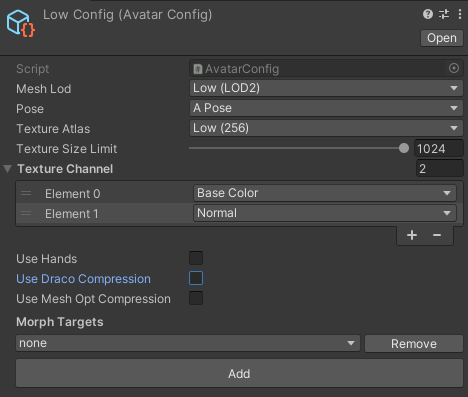
- Now let’s go back to the
AvatarLoaderscript and add aAvatar Configfield withSerializeFieldattribute. -
And right before calling the
LoadAvatarorLoadAvatarAsyncmethod, set theAvatarConfigproperty of theAvatarObjectLoaderobject to theavatarConfig.... public class AvatarLoader : MonoBehaviour { ... [SerialzieField] AvatarConfig avatarConfig; private void Start() { ... AvatarObjectLoader loader = new AvatarObjectLoader(); loader.AvatarConfig = avatarConfig; loader.LoadAvatar(url); ... } } -
Then drag and drop the
Low Configfile in the Avatar Config field in the inspector window.
- Now if you run the scene, you should see the avatar loaded with the settings in the
Low Configfile. -
The avatar should be single mesh, with low quality textures and no morph targets.
Ready Player Me SDK comes with multiple sample projects which you can use to learn how to use the SDK. You can import and check them out to find out how to use the SDK in different scenarios.
To import sample projects:
- Go to
Window>Package Managerin the top menu of Unity Editor. - Select
Ready Player Me Corepackage from the list. - Click on the
Samplesfold out to list the sample projects. -
Click on the
Importbutton next to the sample project you want to import.